The number one question that I get asked on my Instagram feed is how do I edit my photos so I thought I’d share that here. Let me start by saying that 90% off my photos are taken with an iPhone 8 or X and only 10% are taken using a DLSR camera. That being said, you don’t need a fancy camera to create pretty edited photos.
To start, you are going to want to download the Adobe Lightroom mobile app. This is a FREE app that you can use straight from your mobile device! To keep this simple, we are going to start with only this app.
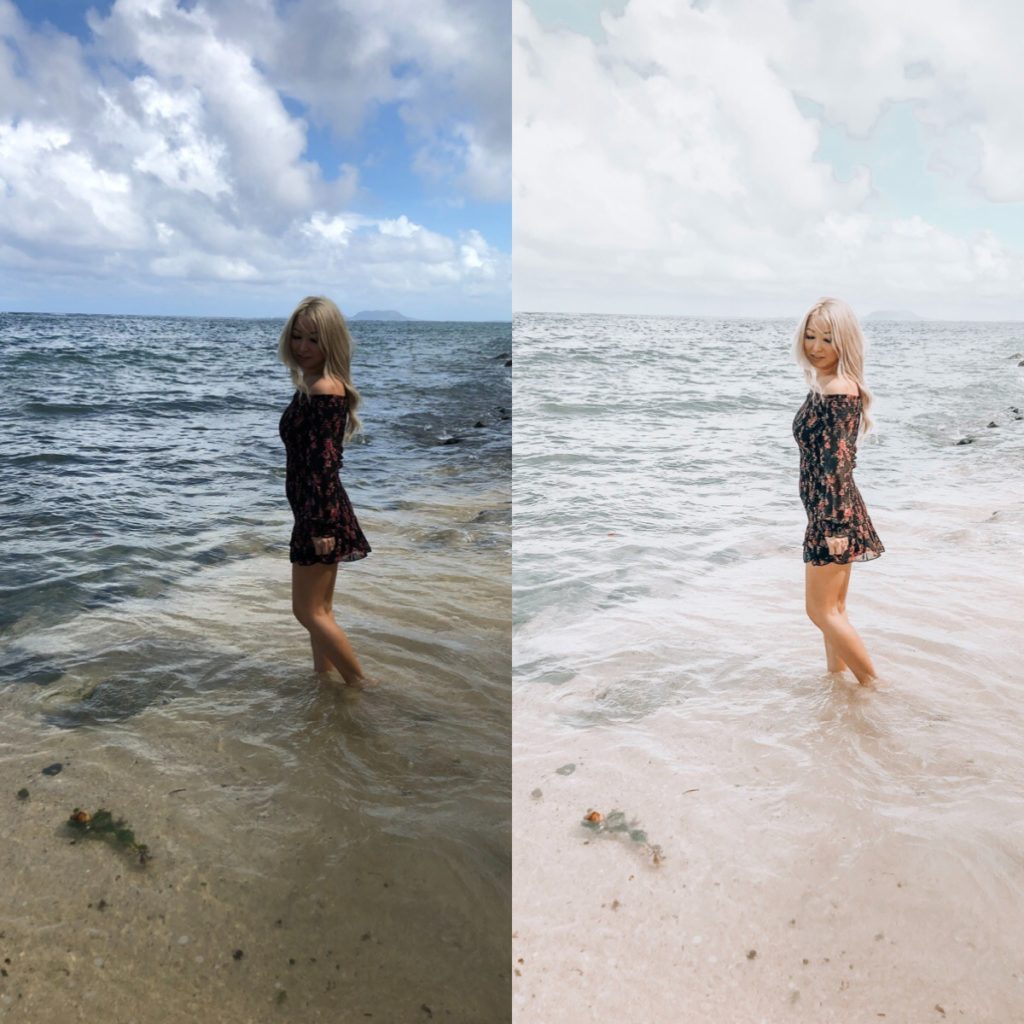
Second, decide what type of edit you want. Do you want your photos to be bright & airy, warm & moody, vintage, grey tone, pink tone etc.? My suggestion is to search Instagram for your favorite feeds and choose a few that you love. Keep in mind, the tones that you usually use in your photos. If you are always wearing black clothing, a white/clean preset will likely not work for you.
Once you select a few of your favorite color themes, go to Etsy and search Lightroom mobile presets. There are hundreds and hundreds of selections to choose from. Find selections that look similar to your faves. Make sure to read the reviews to find out what people who have already purchased the preset are saying. VERY IMPORTANT! Lightroom desktop presets will not work on the mobile app, so to keep this simple, only select presets that are for the mobile app.
Choose a couple that you like and purchase. You will be able to download the DNG file immediately. If you are using a Mac & iPhone, you can airdrop your files to your phone. Otherwise, you can upload to Dropbox or email it to yourself.
The DNG file will be blank when you view it on your phone. Open the Lightroom app, create a new album by clicking the + sign above albums, label it Lightroom Presets. Once you are in your new album, click the “…” on the top right hand corner then “add photos”. Upload your DNG file here. Your DNG file should now show an image.
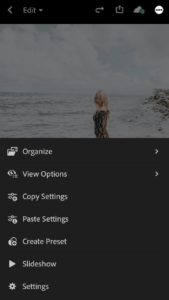
Back out of your Albums and upload your photos to Lightroom. Once you have your photos uploaded, go back to your preset album and click on the preset you want to use. Next click the “…” and then “Copy Settings” then the check at the top right. Back out of the album and go back to your photos. Click on the photo you want to edit and click the “…” then “Paste Settings”.
Your image should now be updated the preset edit. It may look a little funky, but don’t worry we can fix that.
On the bottom of your image will be buttons to manually edit your photo. I like to play around with the exposure and contrast (which you can find by clicking on “Light”, which will make your photo brighter or darker.
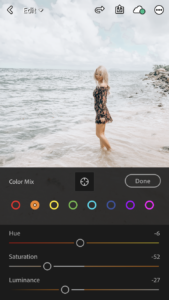
The photos will often be very orangey. To fix this, click on “Color” and the “Mix” button at the top right of the edit box. Click the orange circle and play around with the saturation and luminance. You can also do this for the other colors.
And that’s it. Play around until you get your photo exactly how you want it. Try out different presets to find ones that work best for your types of photos. This can be extremely addicting (and totally fun!).
If you get stuck, leave a comment below or send me an email and I can help you out!


Time to treat yourself to some pre-Fall shopping at Amazon!
I’ve teamed up with a group of bloggers to give one lucky winner
a chance to win a $500 Amazon Gift Card!
To enter: complete the steps in the rafflecopter below. The more steps you complete,
the more entries you receive, and the better your chance at winning!
This giveaway runs until Tuesday, September 24th at 12am PST
Winner will be announced here. Good Luck!
*this giveaway is in no way sponsored by Amazon.
Leave a Comment